

This year, more than ever, this household of mine is so excited for Halloween! July 5th and the kids somehow talked me into a Disney Halloween Music Playlist…yeah, we’ve been ready! A few years ago I made these DIY Halloween Ghosts and they were a huge hit!
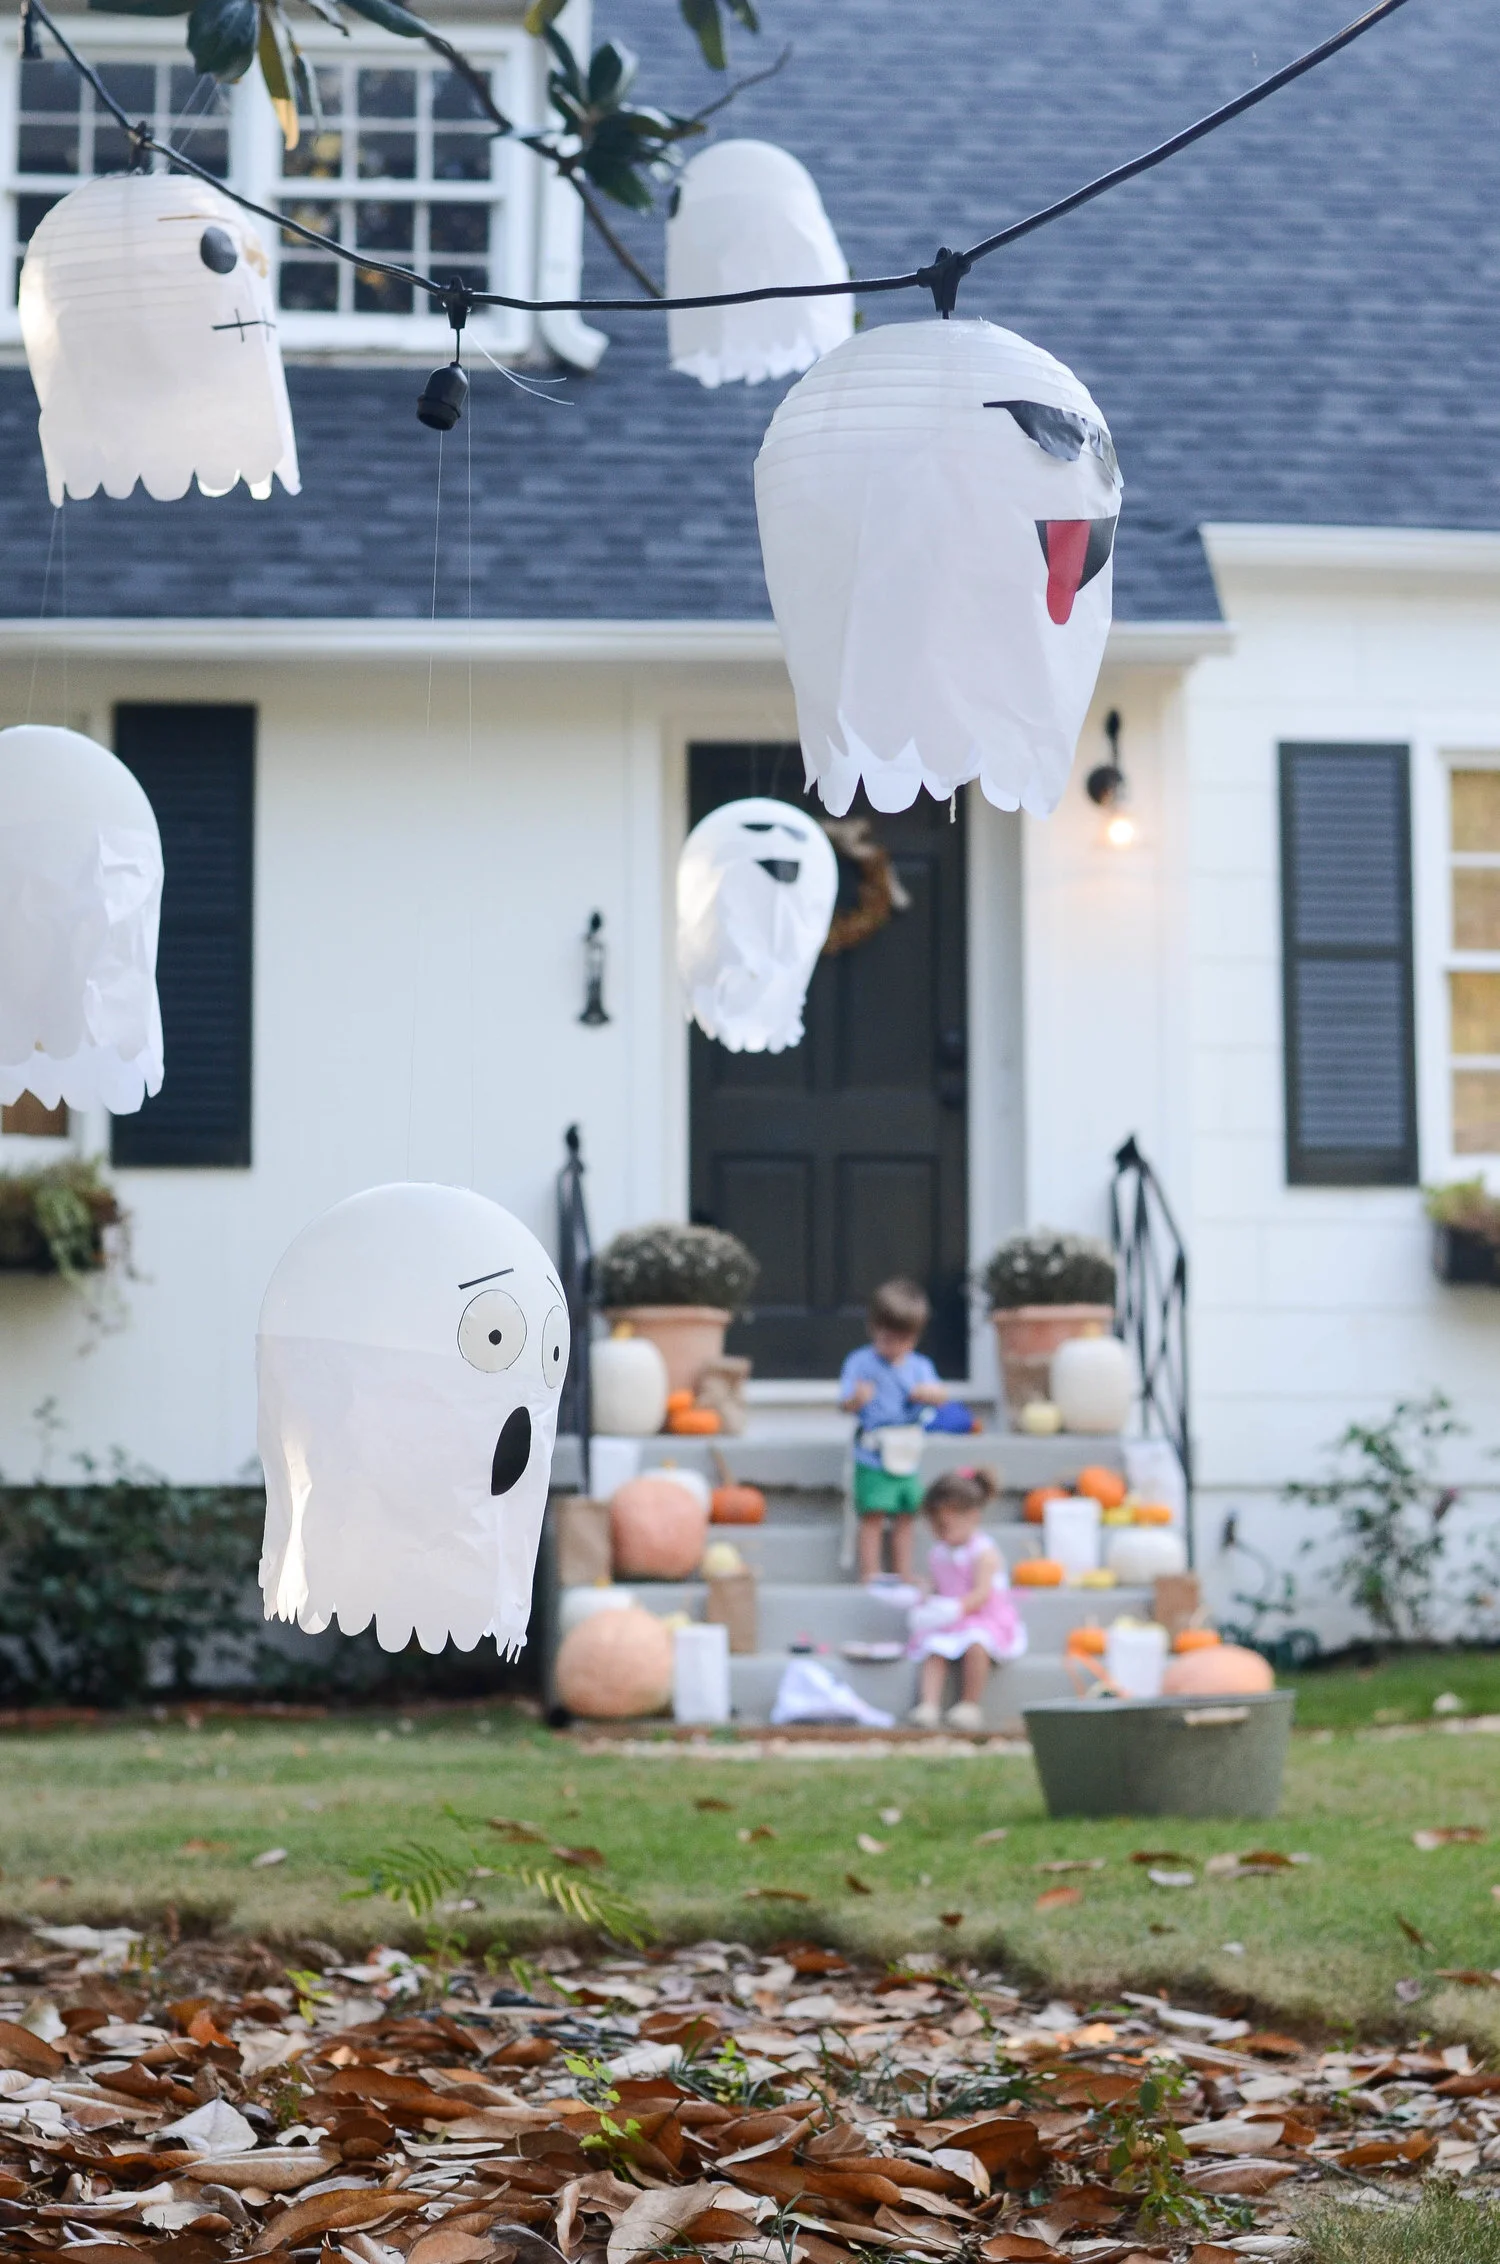
At that time I made them for indoor use only, then quickly hung them outside on actual Halloween Night! How cute is little K below?!

This year I was determined to source materials that would allow these to be more outdoor friendly (Outdoor Halloween Ghosts!) and after a couple test ghosts surviving the remnants of a tropical storm this past week, I can confidently say I succeeded! I mean, what’s more fun than these fun Hanging Halloween Ghosts?!
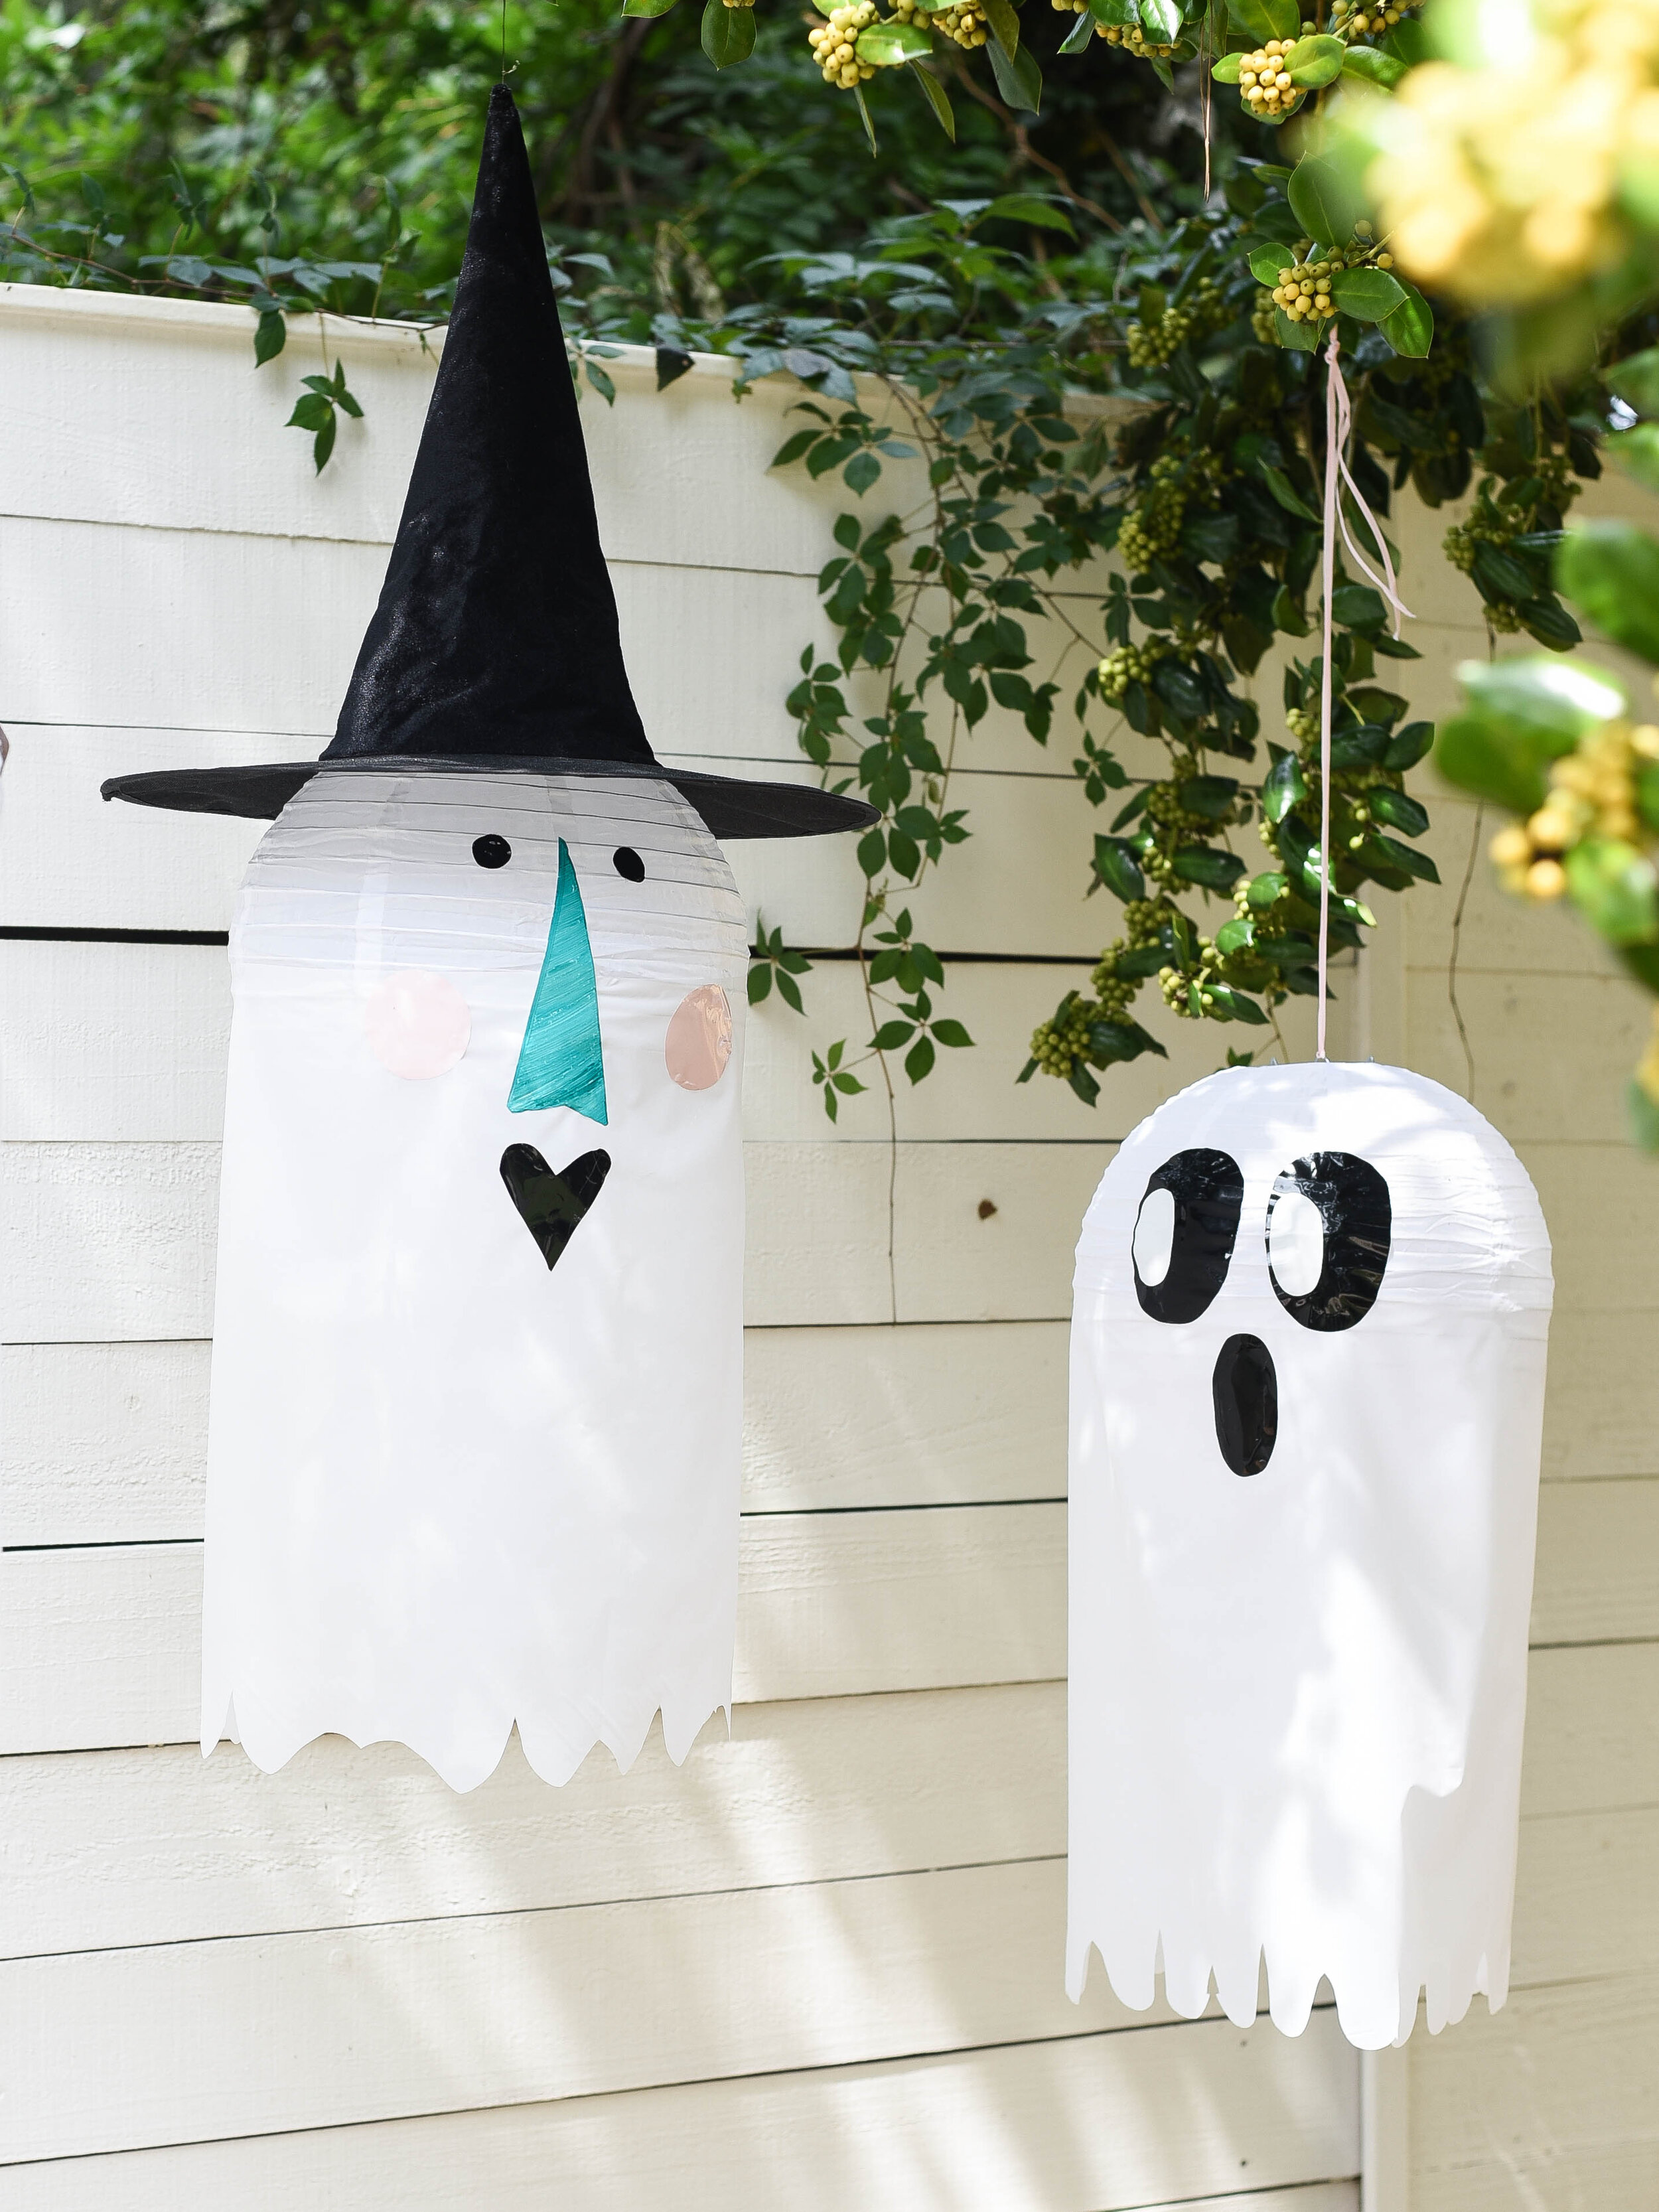
These are seriously so easy to make! And this year my kids are having a blast designing their own! (a witch and traditional ghost above) The hardest part is deciding whether your team Silly or Team Scary, we’re spooky silly fun over here! Hang them from a tree to blow in the wind and add lighting for equal fun at night!

Below, I put both the indoor and outdoor materials needed, assembly is pretty much the same for both! Happy Halloween!

What you’ll need
For Outdoor Friendly Ghosts
** 12” Nylon Lanterns (bought ours from here)…you can use any size, just adjust the skirt length and width accordingly.
Lighting (to make them glow, either hang from string lights or battery operated individual lights, we bought these)
String For Hanging…for an invisible flying ghost use clear fishing line!
**These Nylon Lanterns are touted as “dry” outdoor, and after looking high and low, these hands down were the best option! And after holding up to 3 days worth of heavy rain, I’d say they’re outdoor friendly…maybe not a decor item you’ll have for years and years, but for $3, I’d say they’re worth the investment for a year (maybe two) of fun!
For Indoor Ghosts
Scissors
Hot Glue Gun + Clear Glue (if using paper lantern)…double sided tape if using balloon.
White Tablecloth Roll OR White Tissue Paper (I prefer these large white sheets)
White Paper Lanterns Or White Balloons (if you look at the second and third photo above closely, you’ll see both balloons and paper lanterns!)
Lighting (to make them glow, either hang from string lights or battery operated individual lights, we bought these)
String For Hanging…go with clear fishing line for an invisible flying ghost!

Step 1:
Assemble your lantern. (or blow up your balloon if using those)

Step 2:
Cut your ghost “skirt”. For the 12” lanterns, I cut panels 20” x 43” out of the rolls. If you’re going with indoor ghosts, and using tissue paper, you’ll want to use two sheets per ghost and overlap the sheets.

Step 3:
Once your panels are cut, loosely fold (trying not to crease) in half, then half again and so on, then cut out a couple inches from the bottom your scallop (this becomes the bottom of the ghost “skirt”, see photo below.)

No need to be too precious about this step. Make loose waves, jagged edges or big rounded ones like above for a fun whimsical ghost design.

Step 4:
Once your “skirt” is complete, attach with hot glue around the widest part of the lantern. I found simply dotting (really making a “W” with the glue) every 6 inches or so worked best rather that one solid line. (**if making these ghosts with balloons, skip the hot glue and use double sided tape)

Step 5:
You will have overlap on your skirt (again, if using tissue paper, use two sheets for this). You WANT this overlap so when your ghosts blow in the wind they have a fun whimsical appearance. You can use a dot or two of glue to close the slit in the skirt, however I found it not necessary.
Step 6:
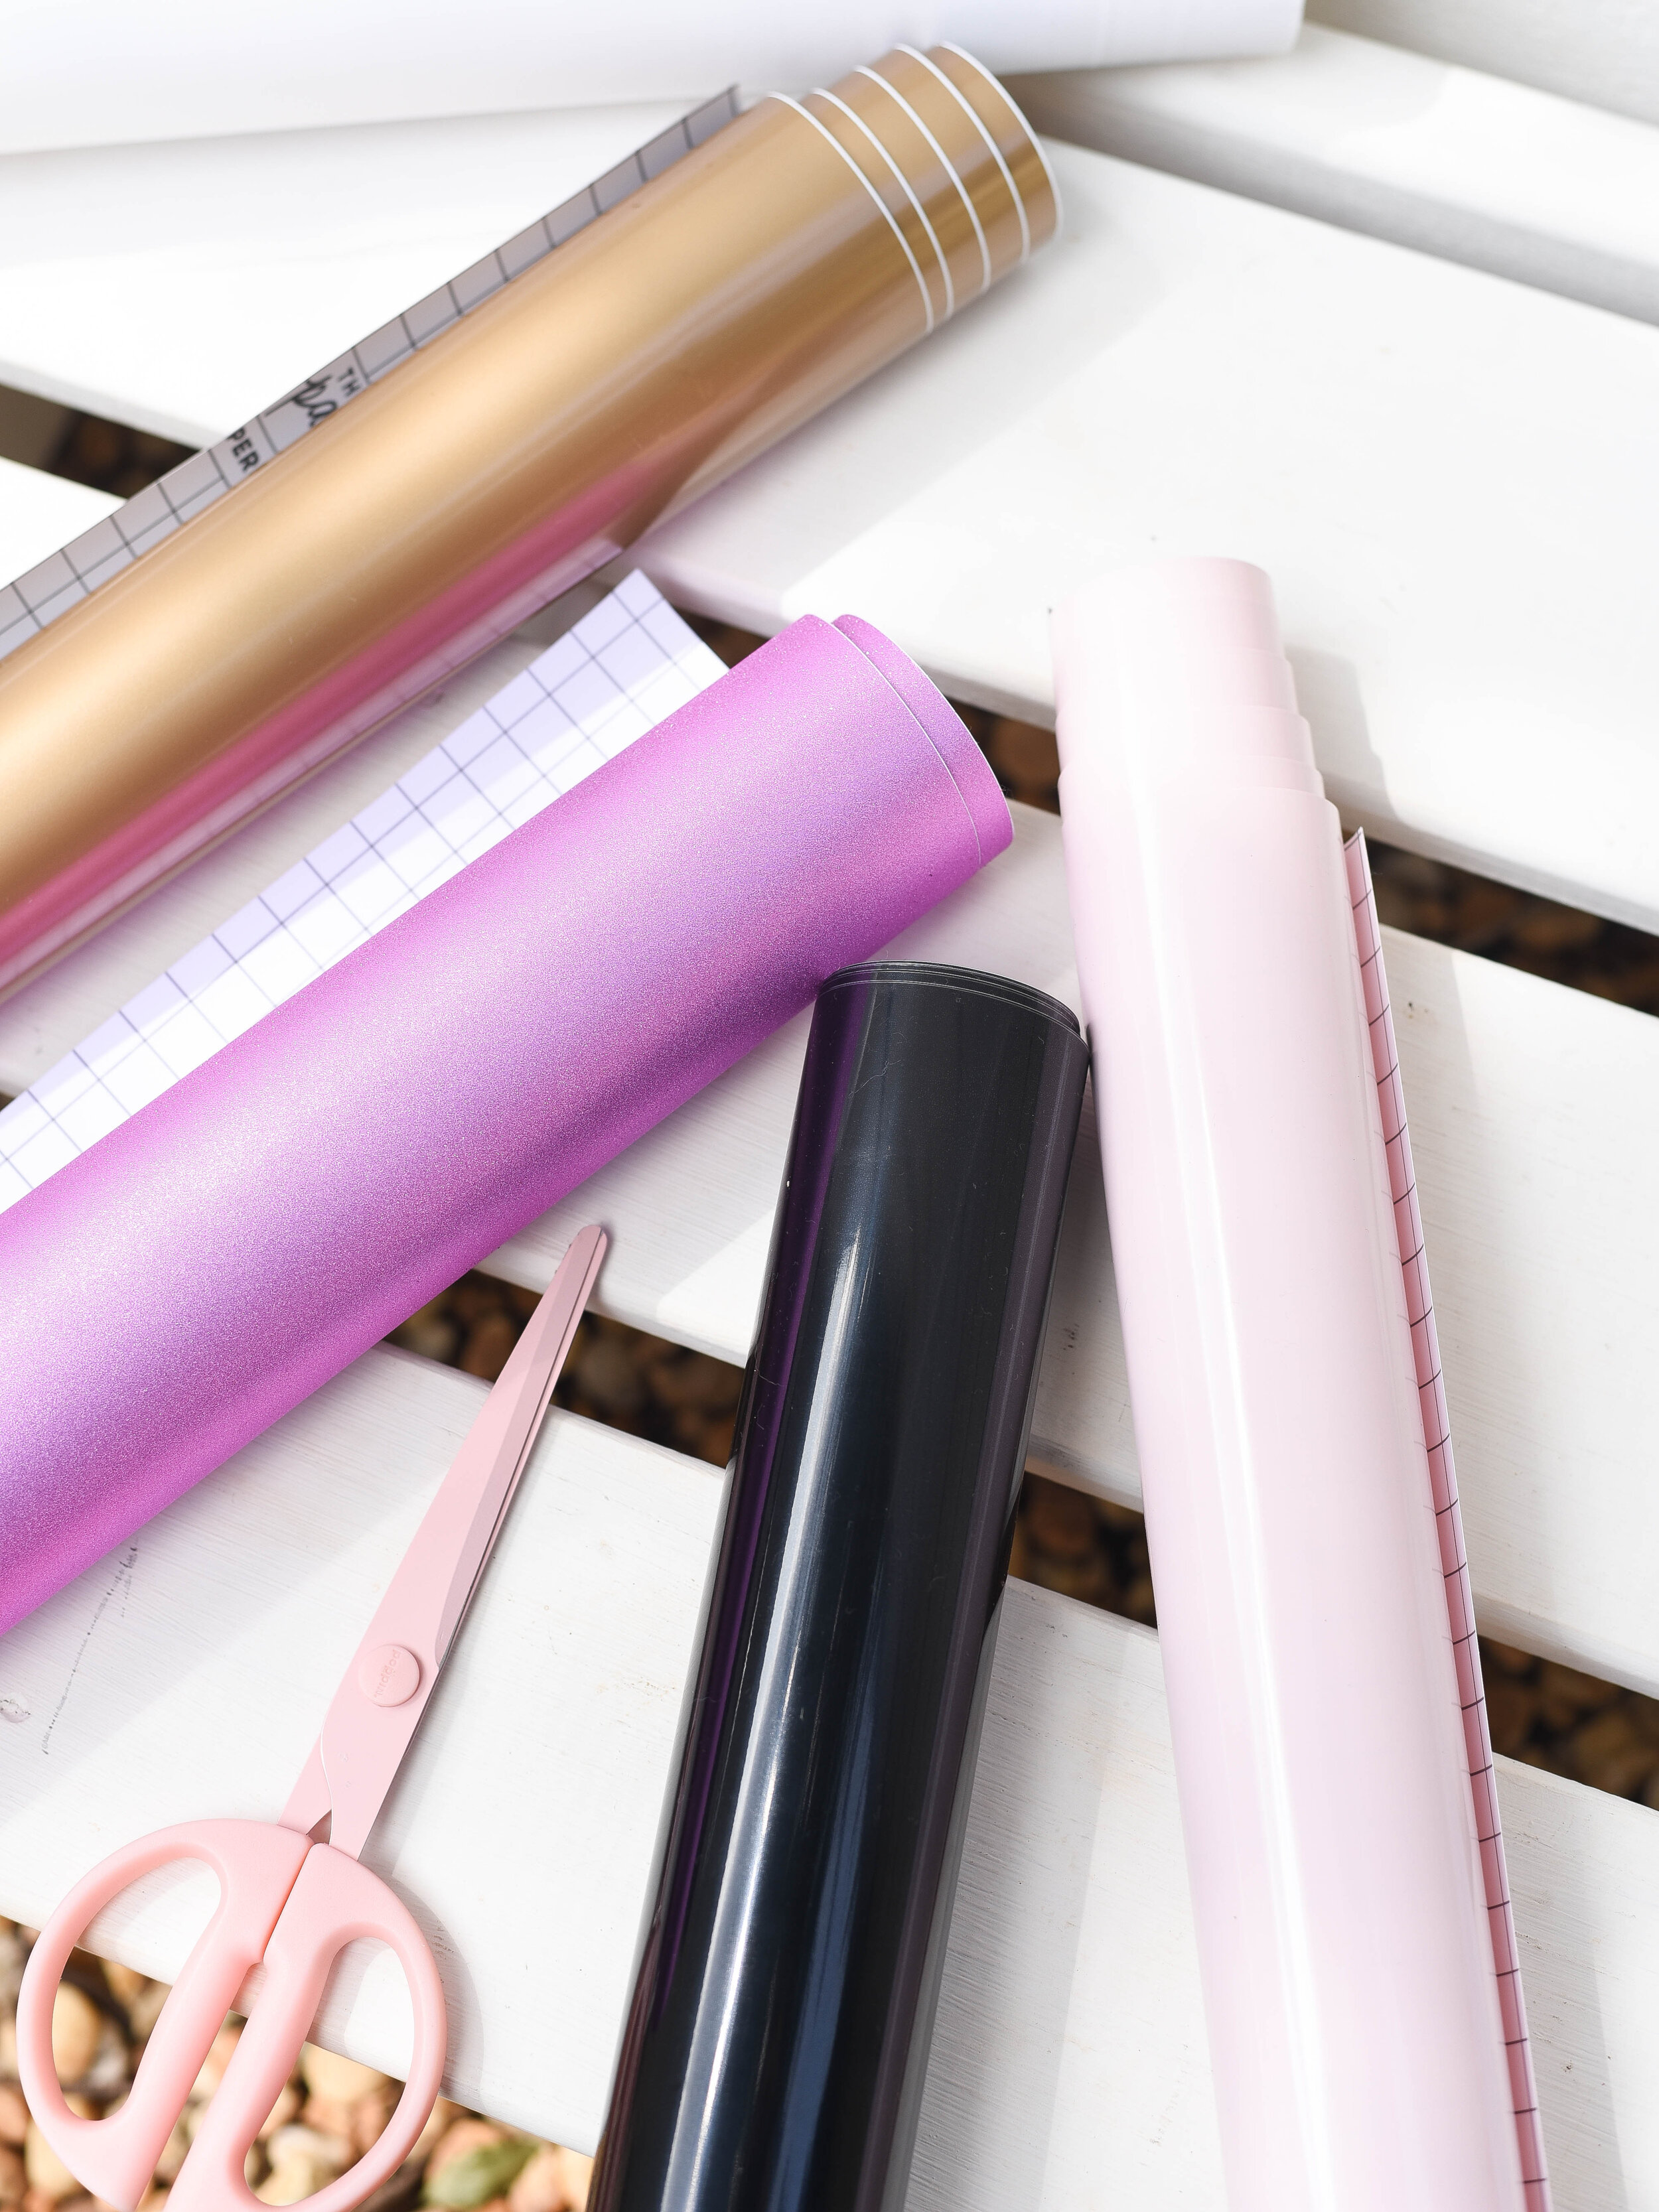
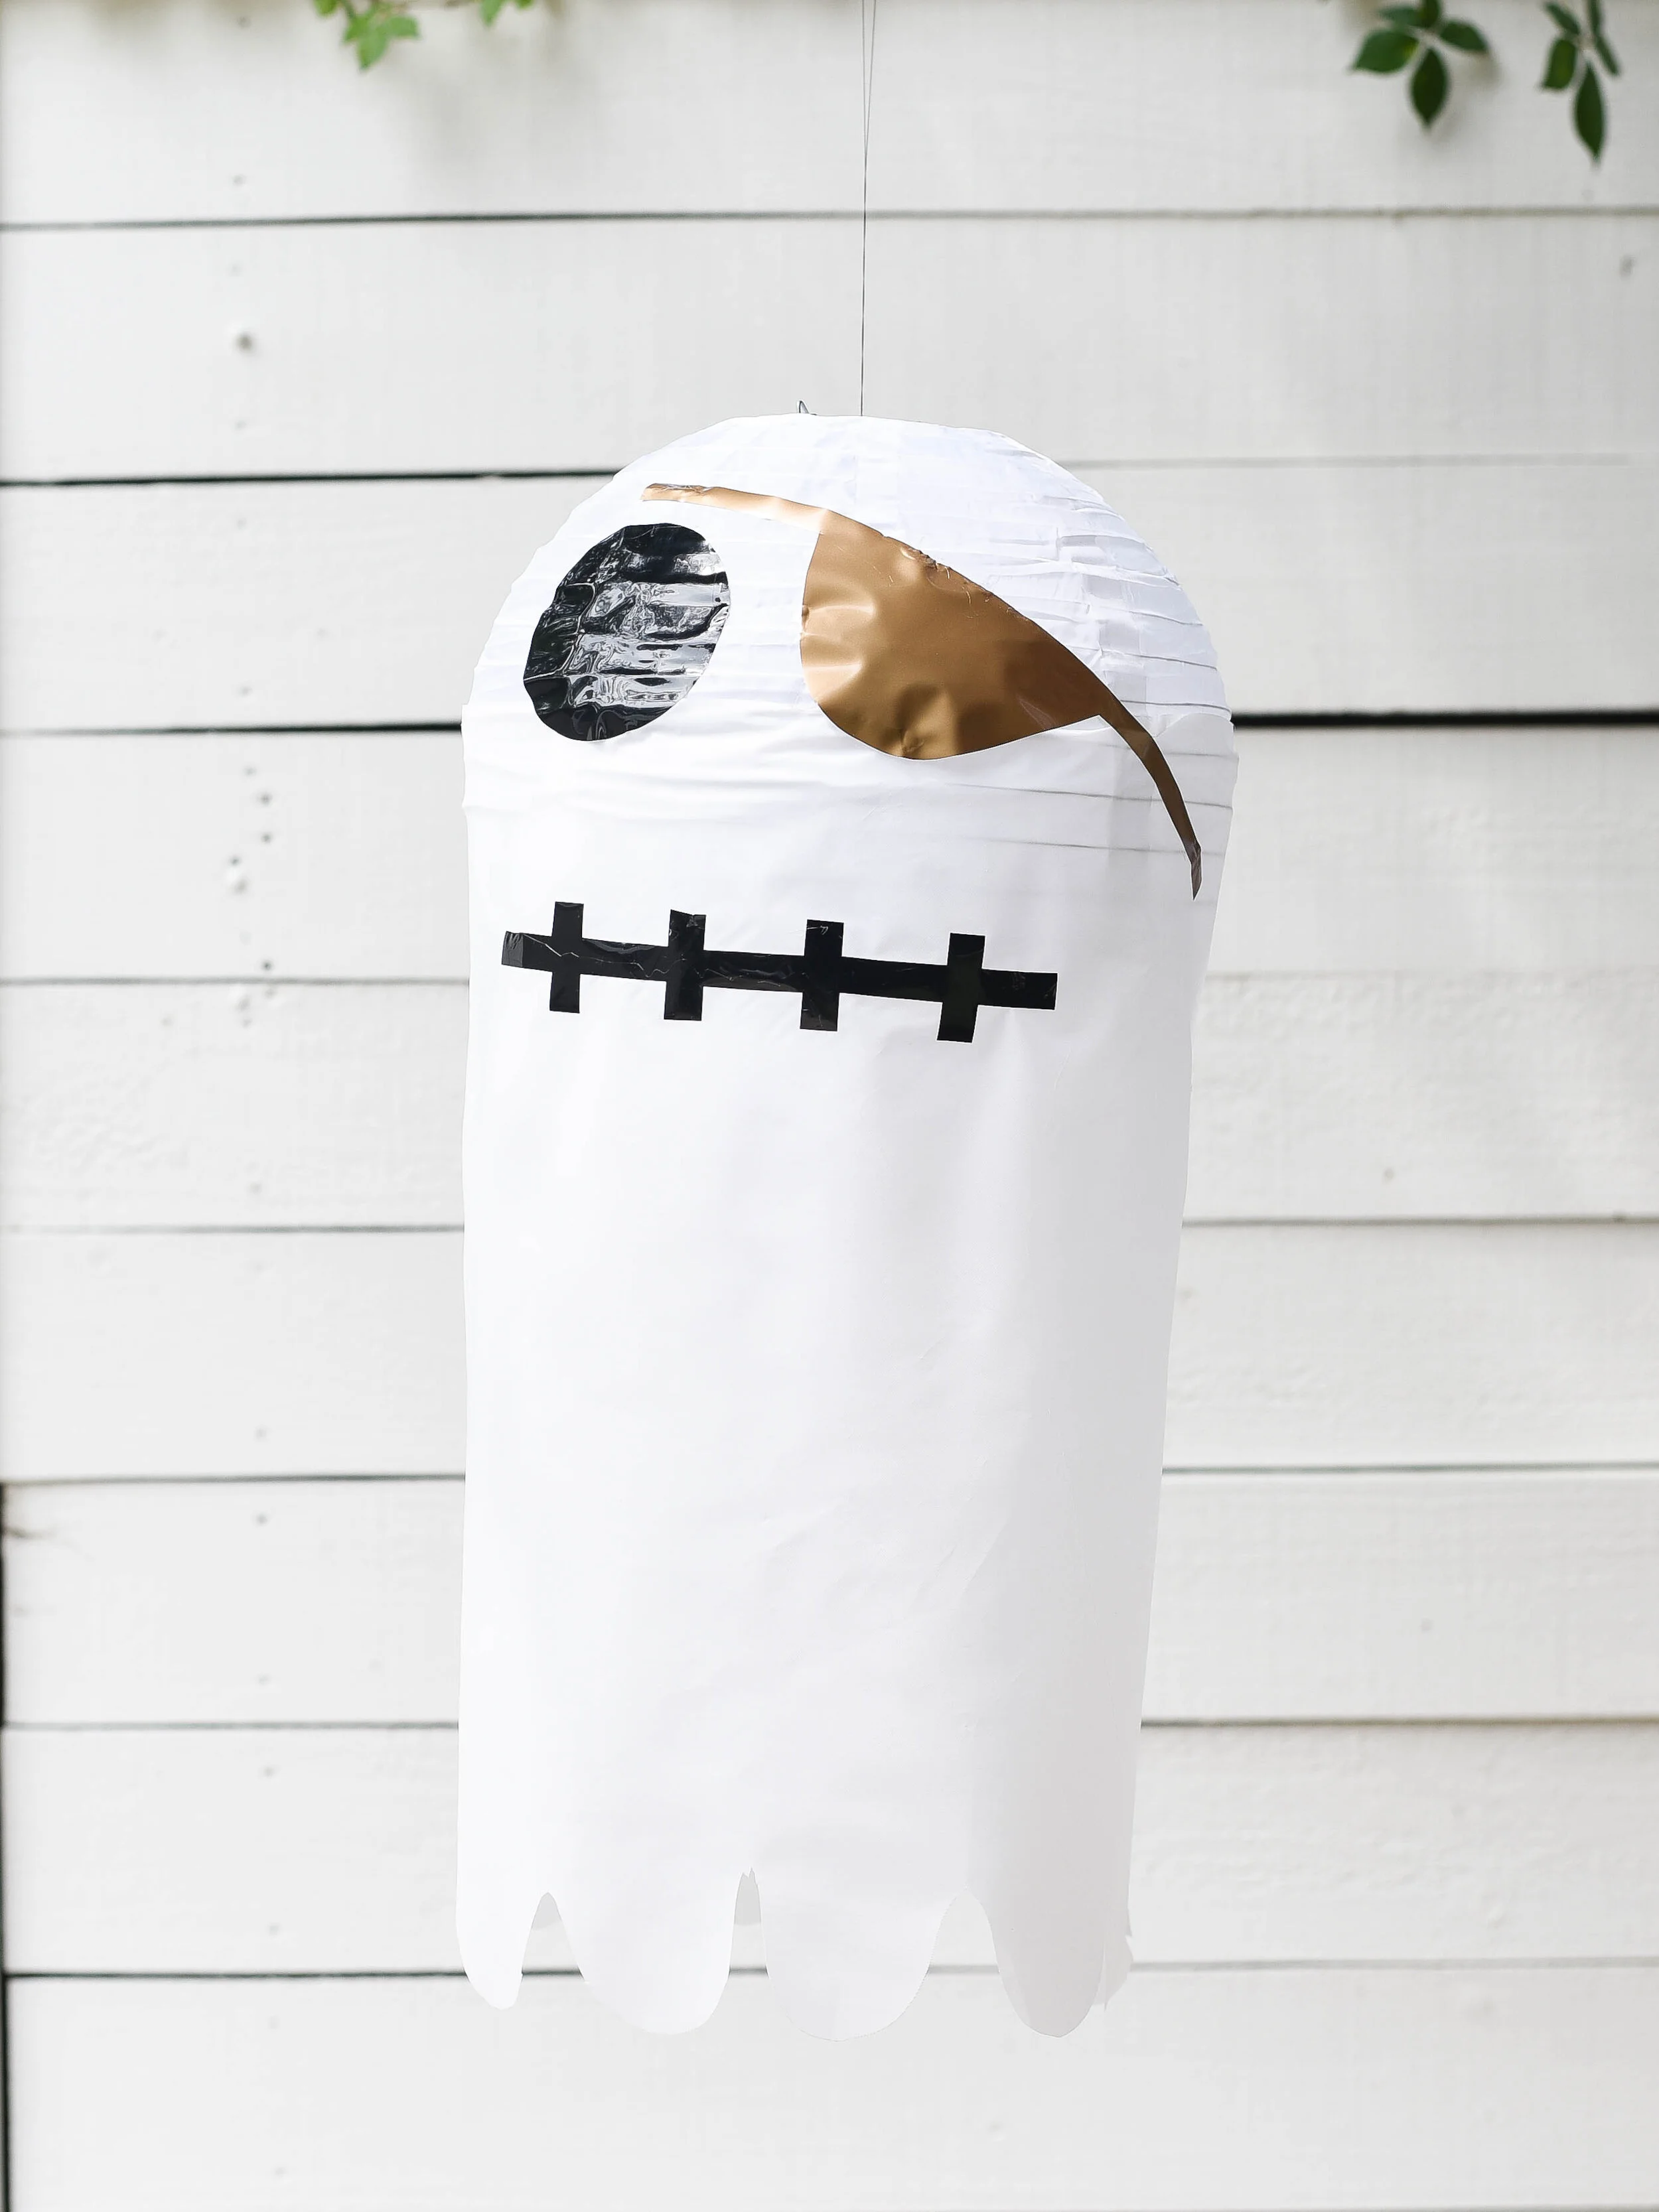
Now for the fun part, designing the faces! Here’s where you can get creative or stay traditional! And while you’re using vinyl decals that stick, you’ll still want to use a bit of hot glue here and there to ensure the features stay put.

I love the idea of going with a theme…how fun would a huge set of these pirate ghosts be…

Or these colorful Day of The Dead Hanging Ghosts…

A silly Frankenstein Ghost…

A vampire…


For us, I think we’re going with a bunch of different ones for a fun scavenger hunt of faces for passerby’s. Well, there you have it! Another outdoor Halloween Decoration to make this season a little more spooky, silly Fun! Happy Halloween Friends!

Looking for more Outdoor Halloween Ideas?! Check out our Spider House from last year!! And for all our Halloween Favorites, be sure to visit this page here!